We have partnered with our friends and local photography pros at Denali Photo Guides to bring you their top tips for unforgettable photos during your Denali flightseeing tour. Their team spends every day helping guests master the art of outdoor and landscape photography, and we are thrilled to share their expertise with you. While some of the tips below are geared toward guests using DSLR, you can still capture incredible images with your phone. Today’s smartphones perform beautifully in the air, so don’t hesitate to use what you have!
Come Prepared
Before you even board the plane, double-check the basics. Make sure your camera battery is fully charged, and you have plenty of storage available. You don’t want to be fumbling with gear or worse, missing a once-in-a-lifetime shot while the mountains glide by beneath you.
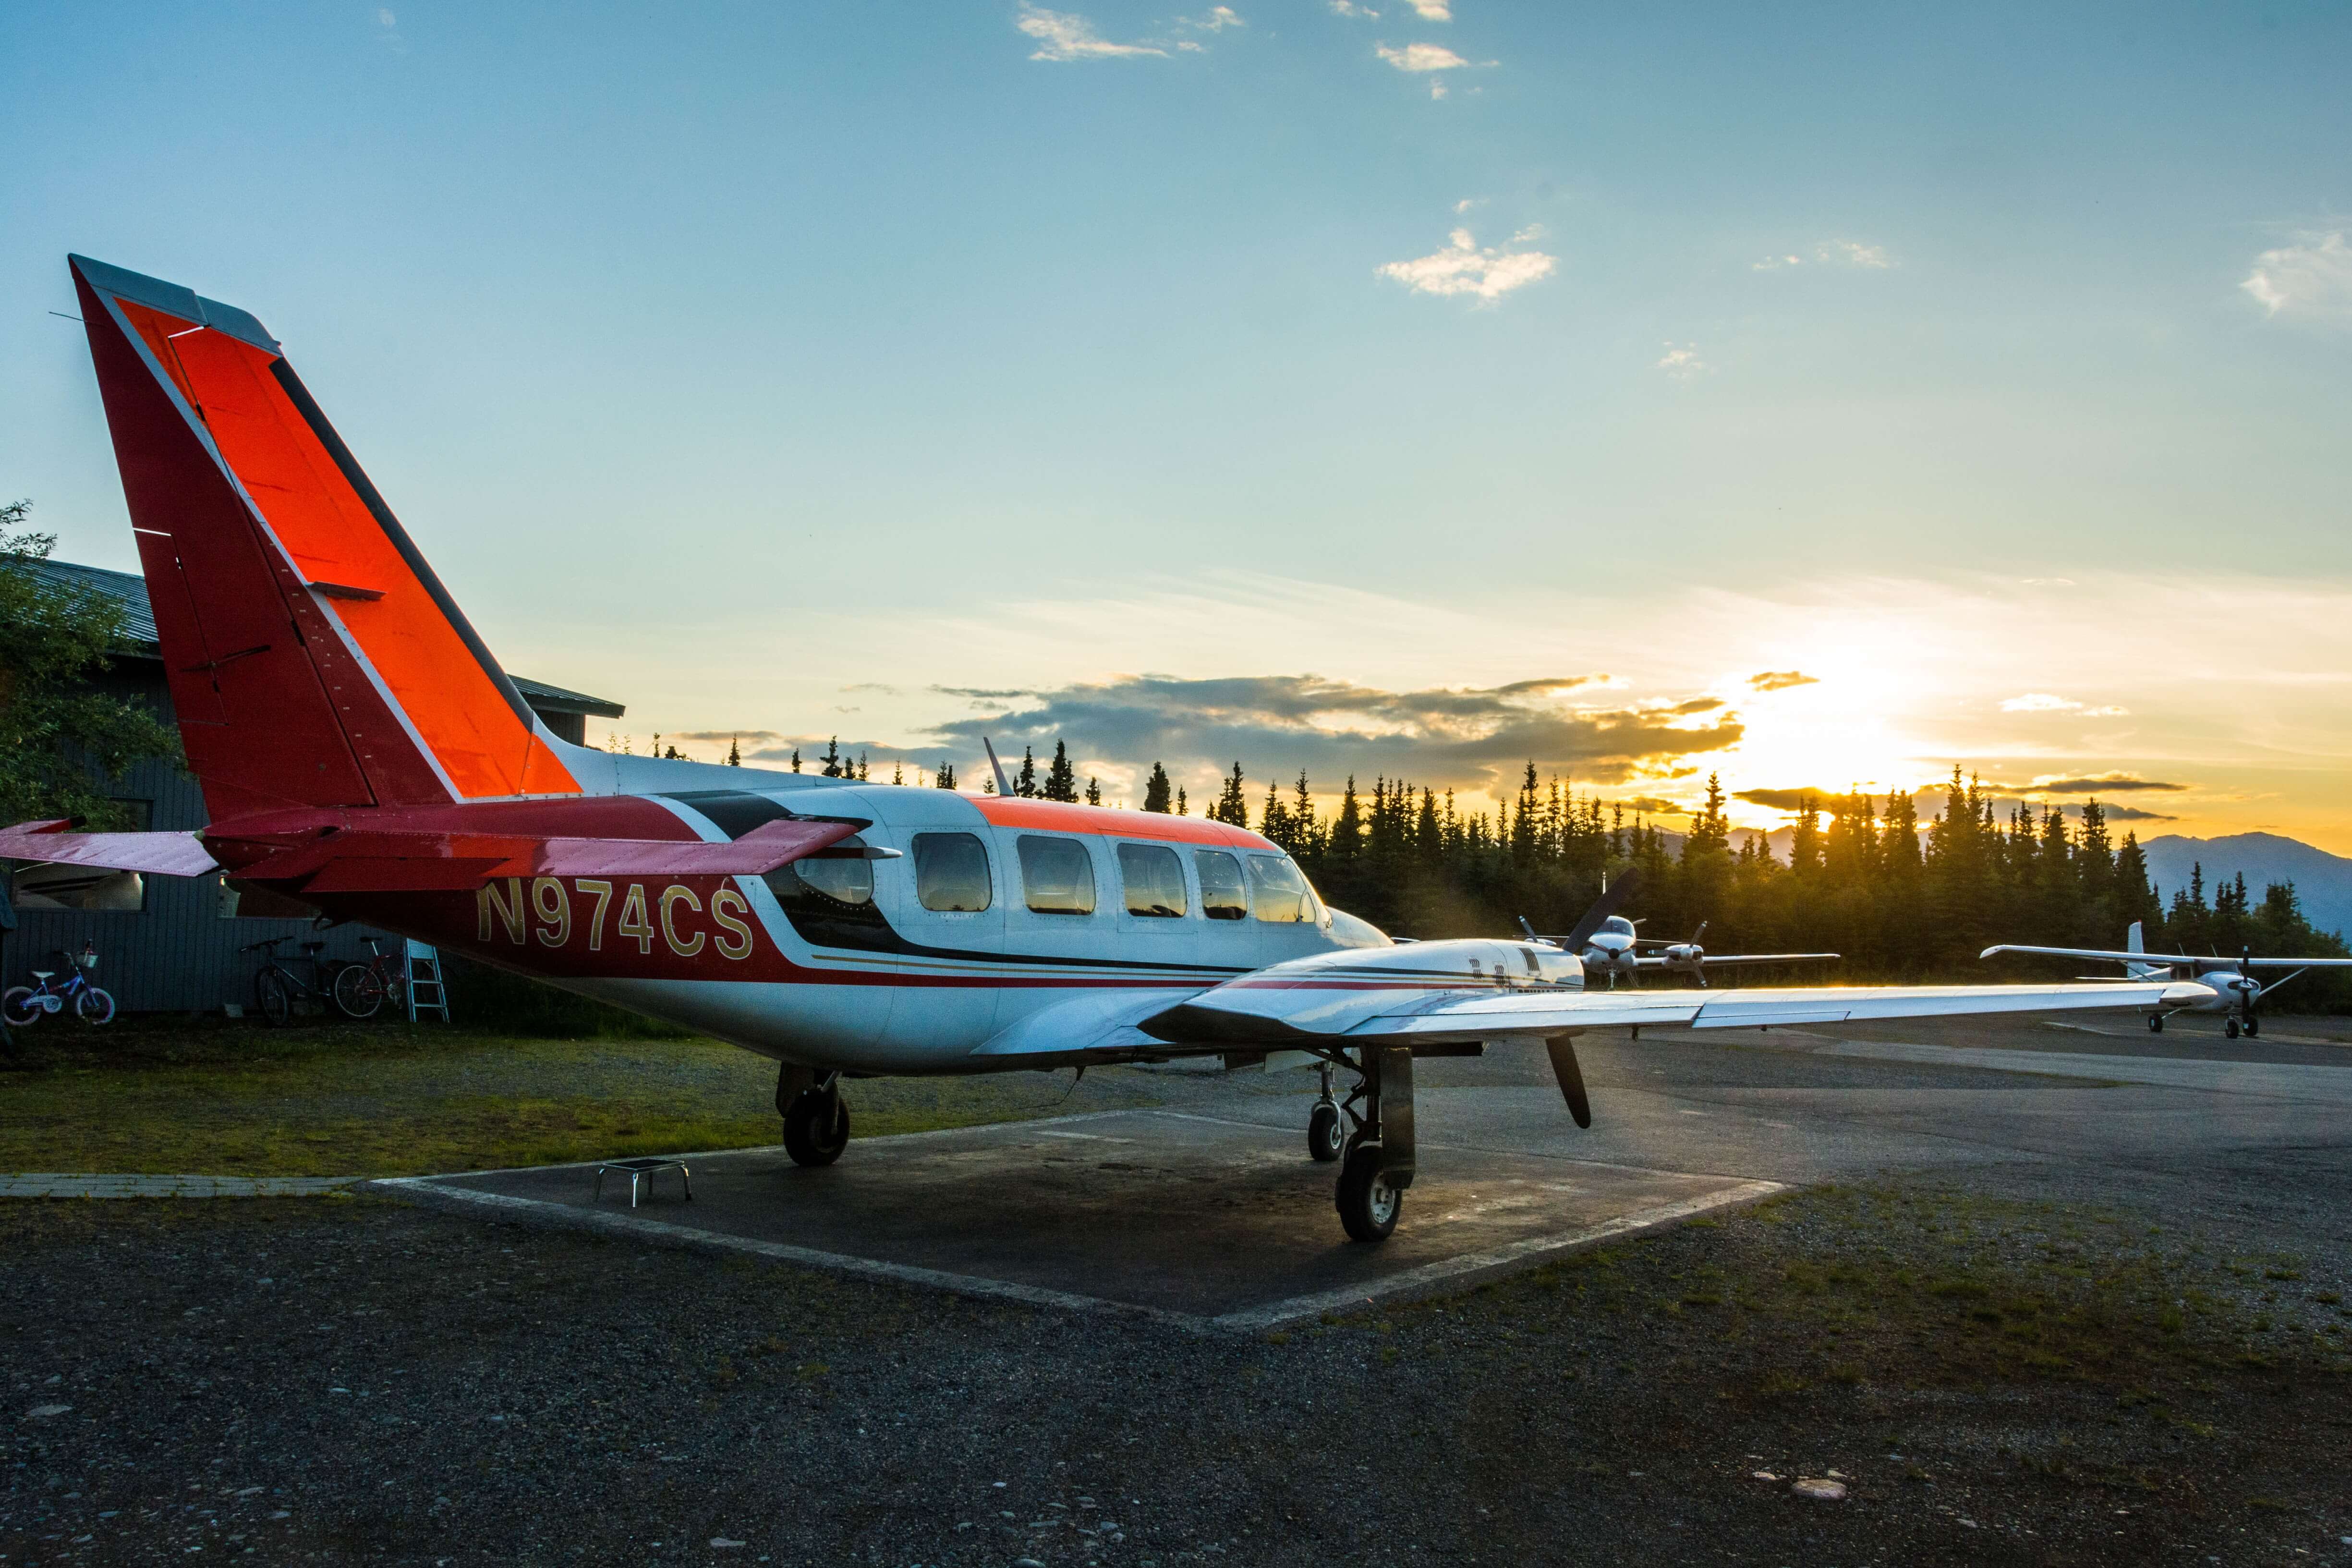
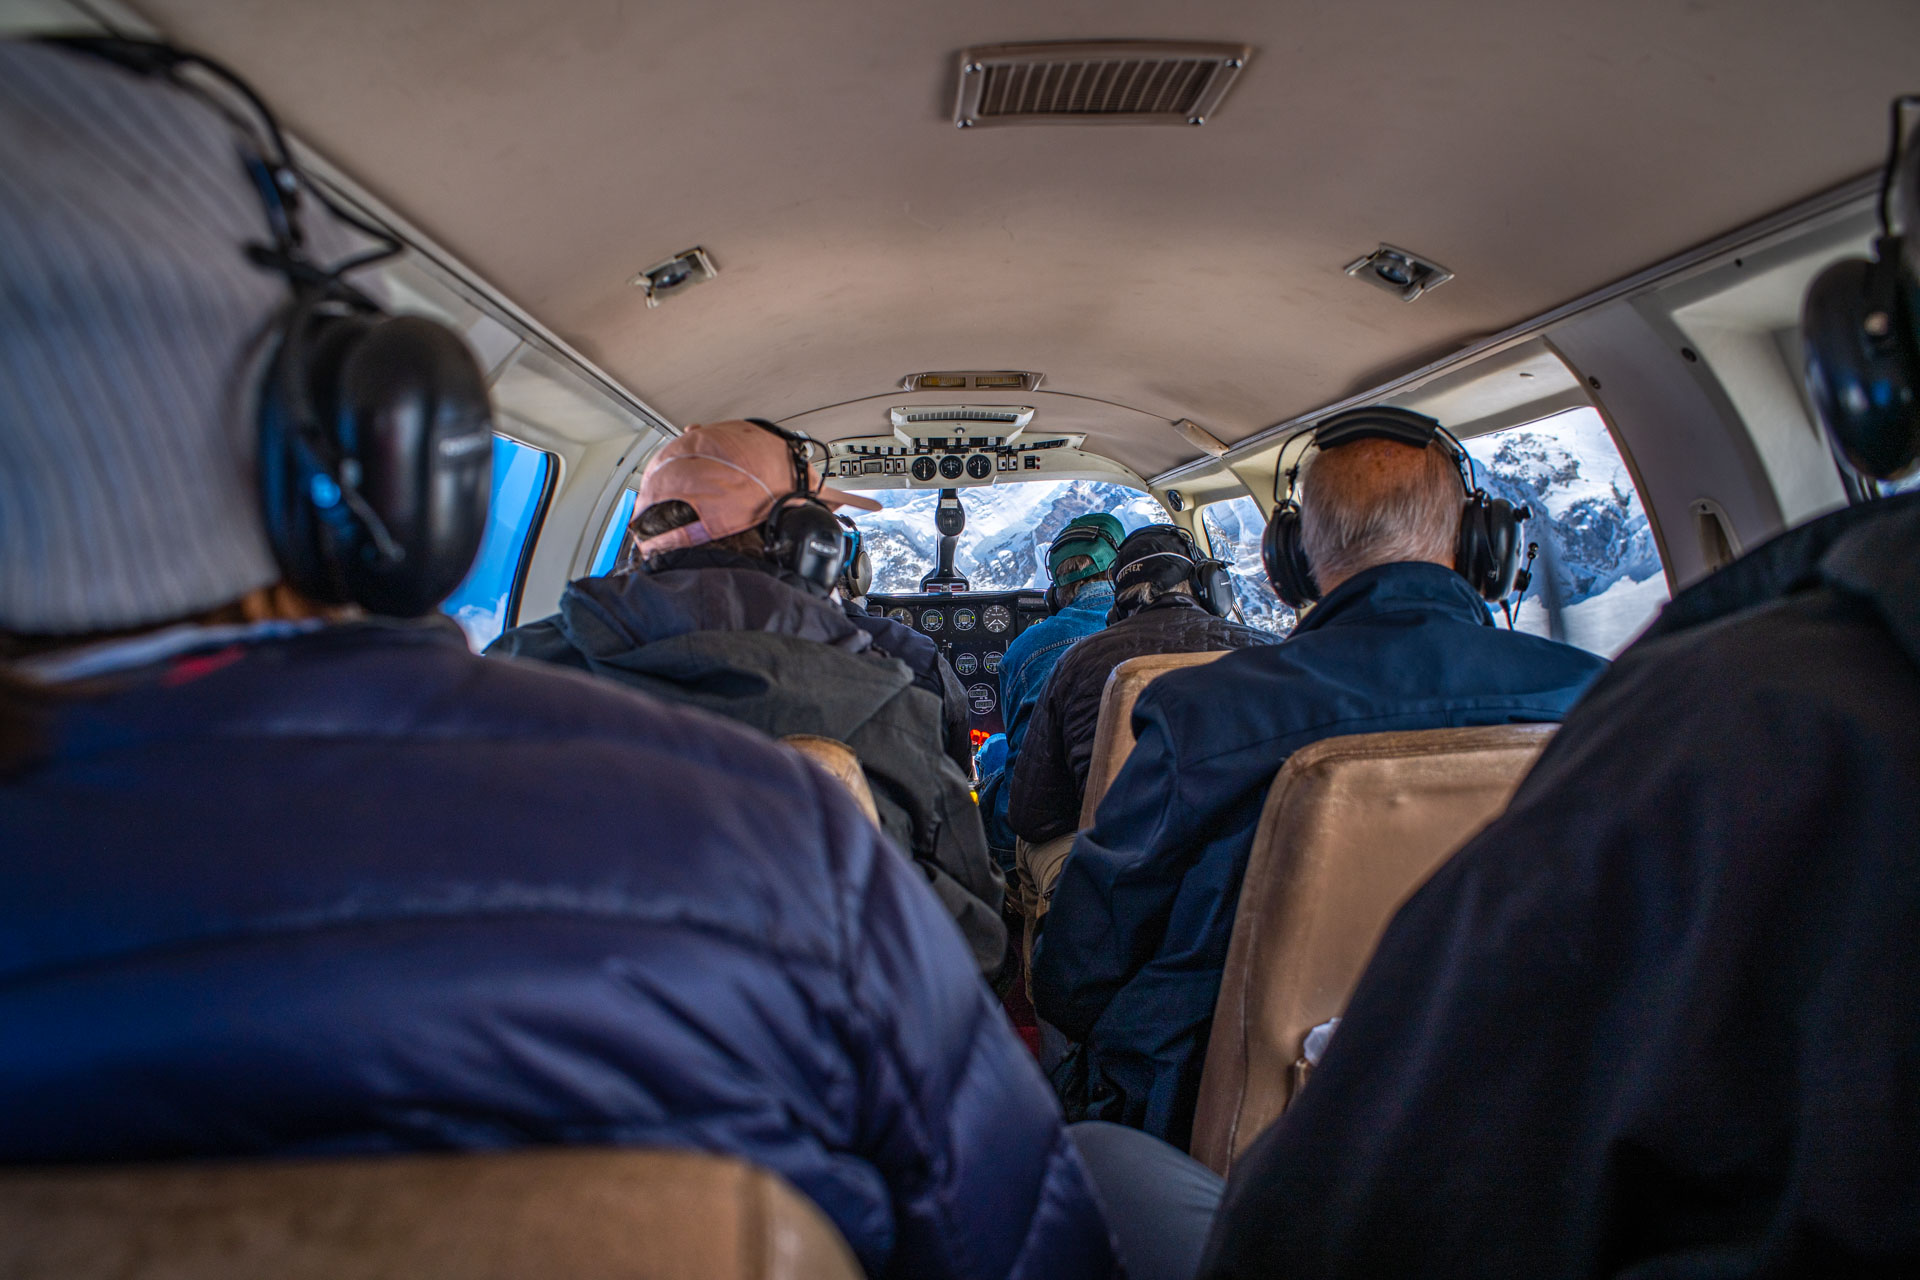
Grab That Window Seat (Hint: You Already Have One!)
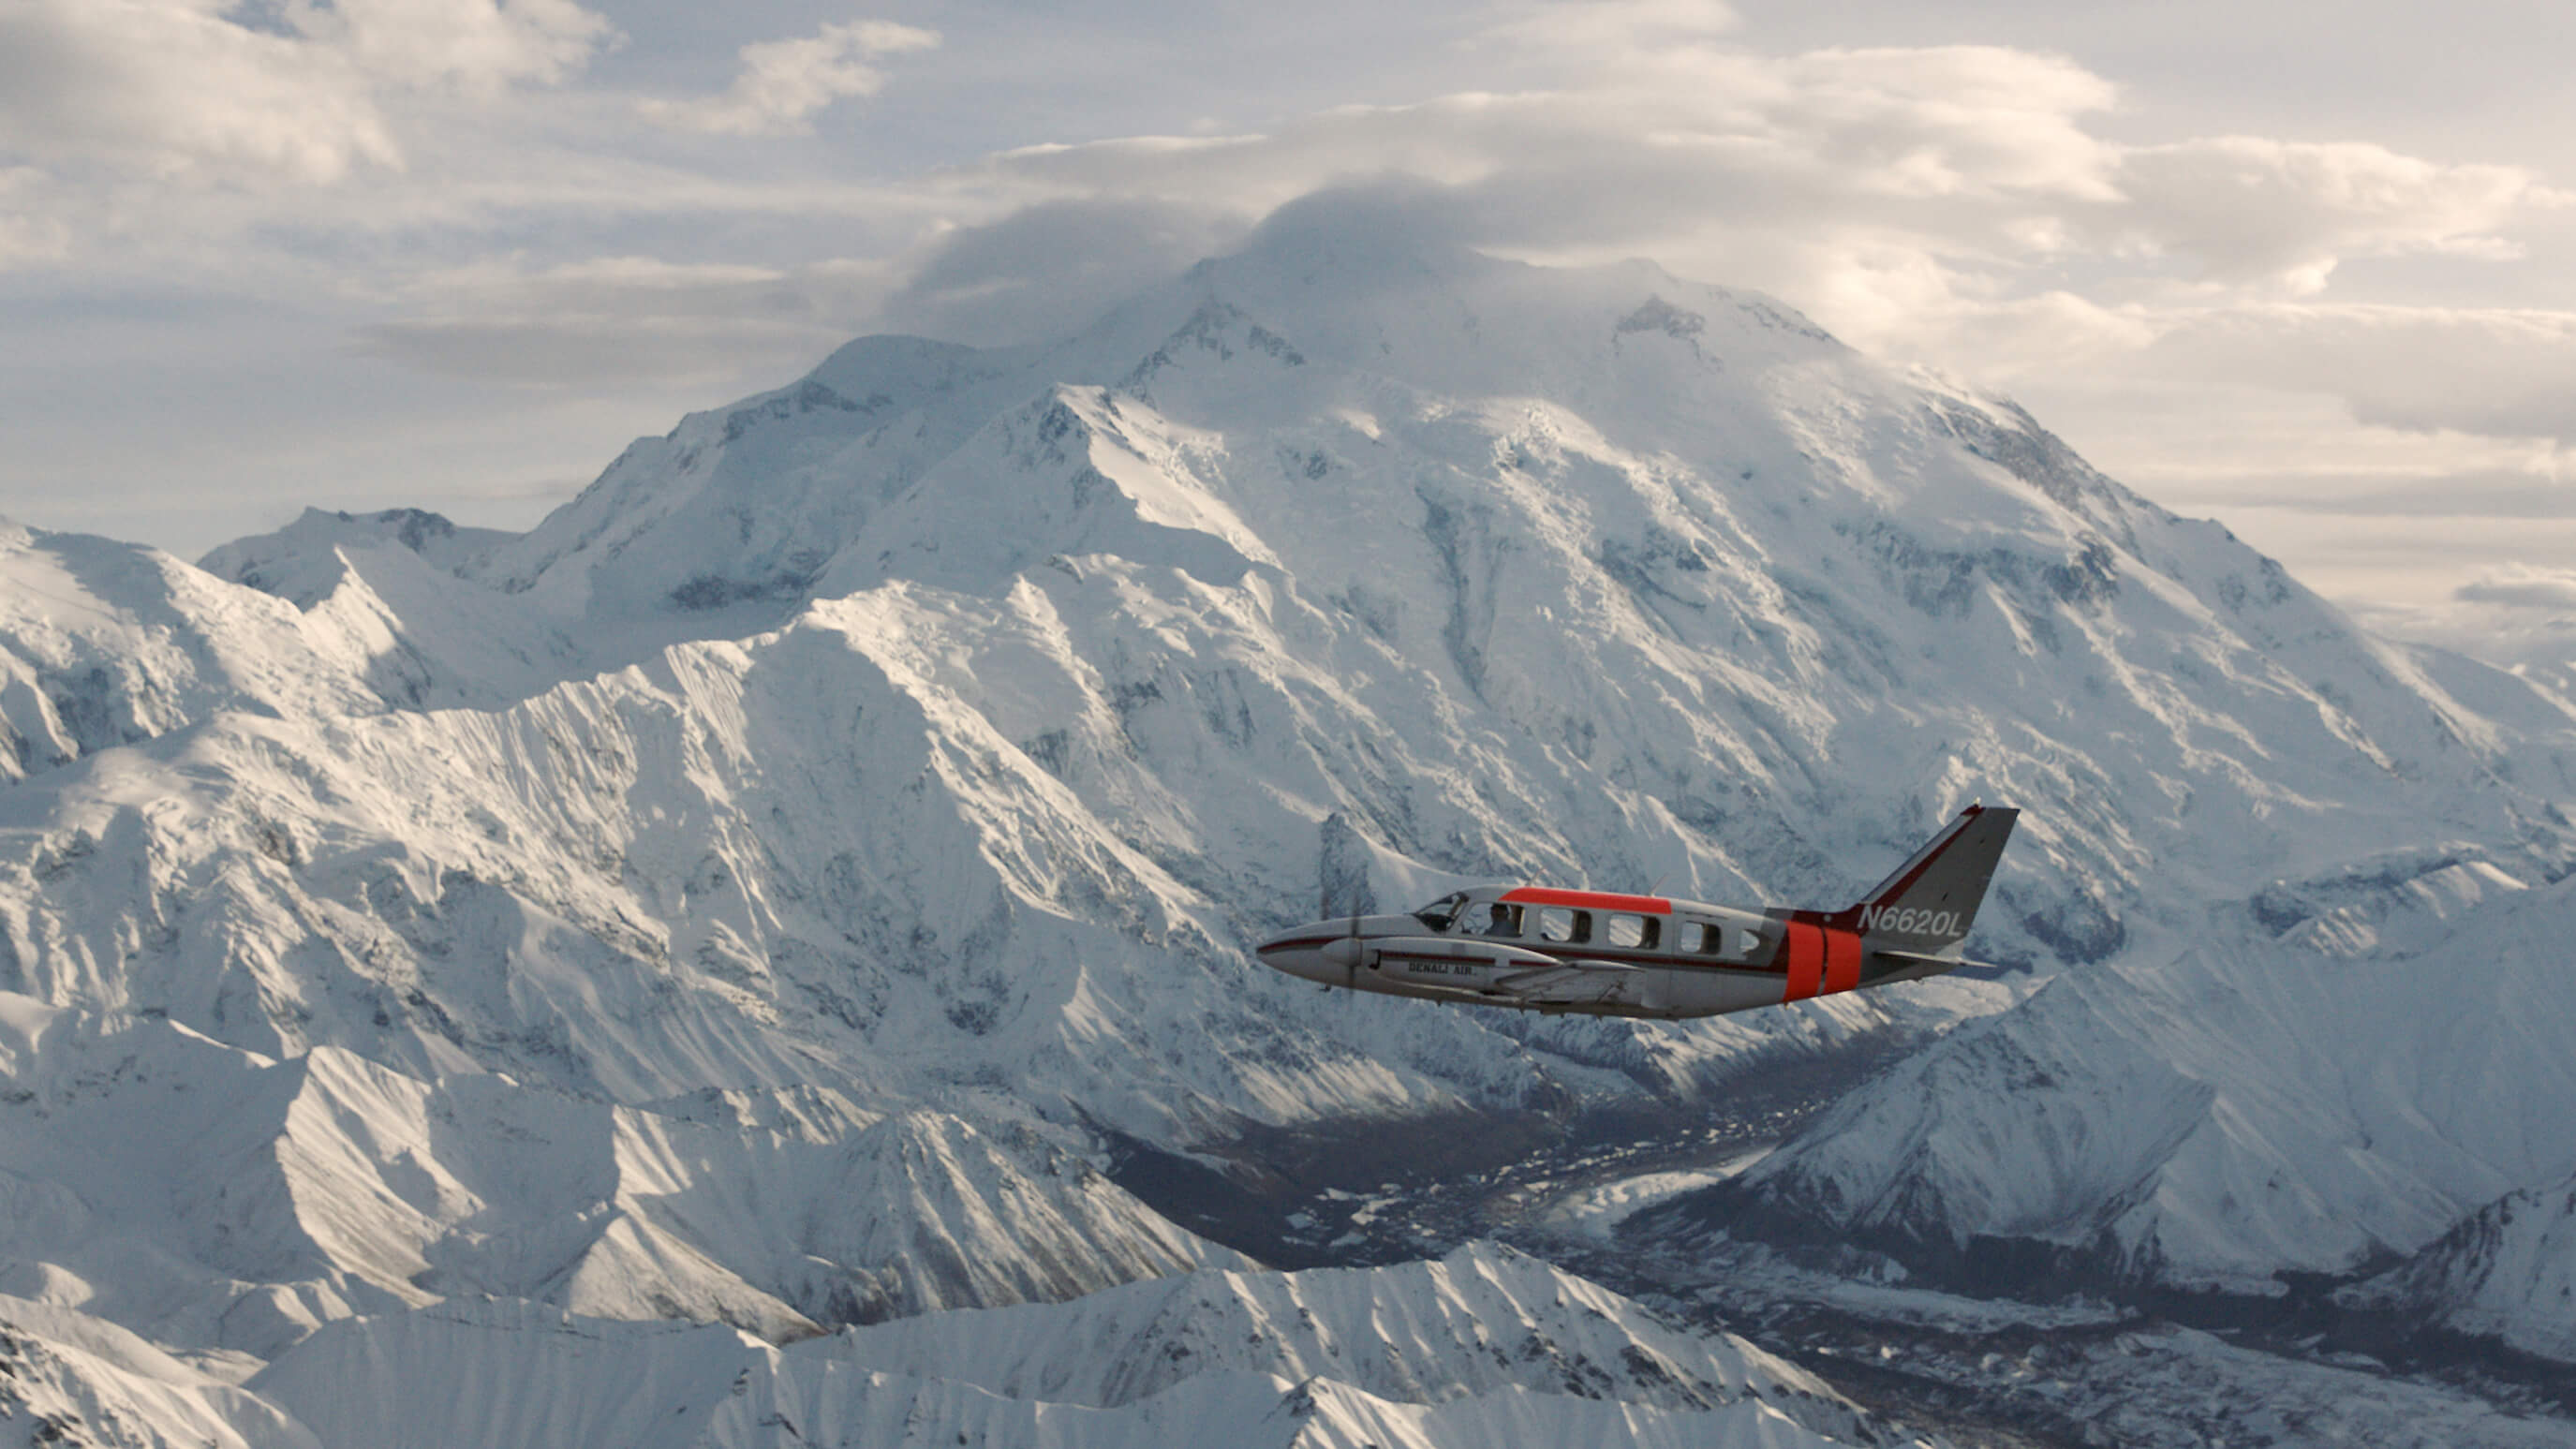
Positioning is everything when it comes to aerial photography. Luckily, every seat on our aircraft is a window seat, giving you easy access to the views no matter where you sit.
Minimize Reflections
Wear dark colors: dark brown, midnight blue, anything near black, so that you don’t get glare in the windows. Dark gloves are a bonus. Stay away from white. A white baseball cap will shine like a light. A circular polarizer comes in handy to reduce glare in the glass.
Phone users: circular polarizers are also available for your phone camera.
Keep Your Camera Handy
Once you’re buckled in, keep your camera or device on your lap so it’s ready at a moment’s notice. Things move quickly up there, and the views are too good to miss.
Use a Fast Shutter Speed
If you are shooting with a DSLR, aim for a minimum shutter speed of 1/500th. A shutter speed closer to 1/1000th is ideal to keep your images crisp.
Phone users: your device will adjust automatically-just tap to focus and shoot! This tip comes straight from the Denali Photo Guides team, who know a thing or two about photographing landscapes.
Avoid Touching the Window with Your Lens
Hold your camera or phone slightly away from the glass. Vibrations from the aircraft can travel straight into your camera, creating blurry images. Plus, camera lenses can scratch our windows, which is something we work hard to keep crystal clear!
Choose the Right Lens
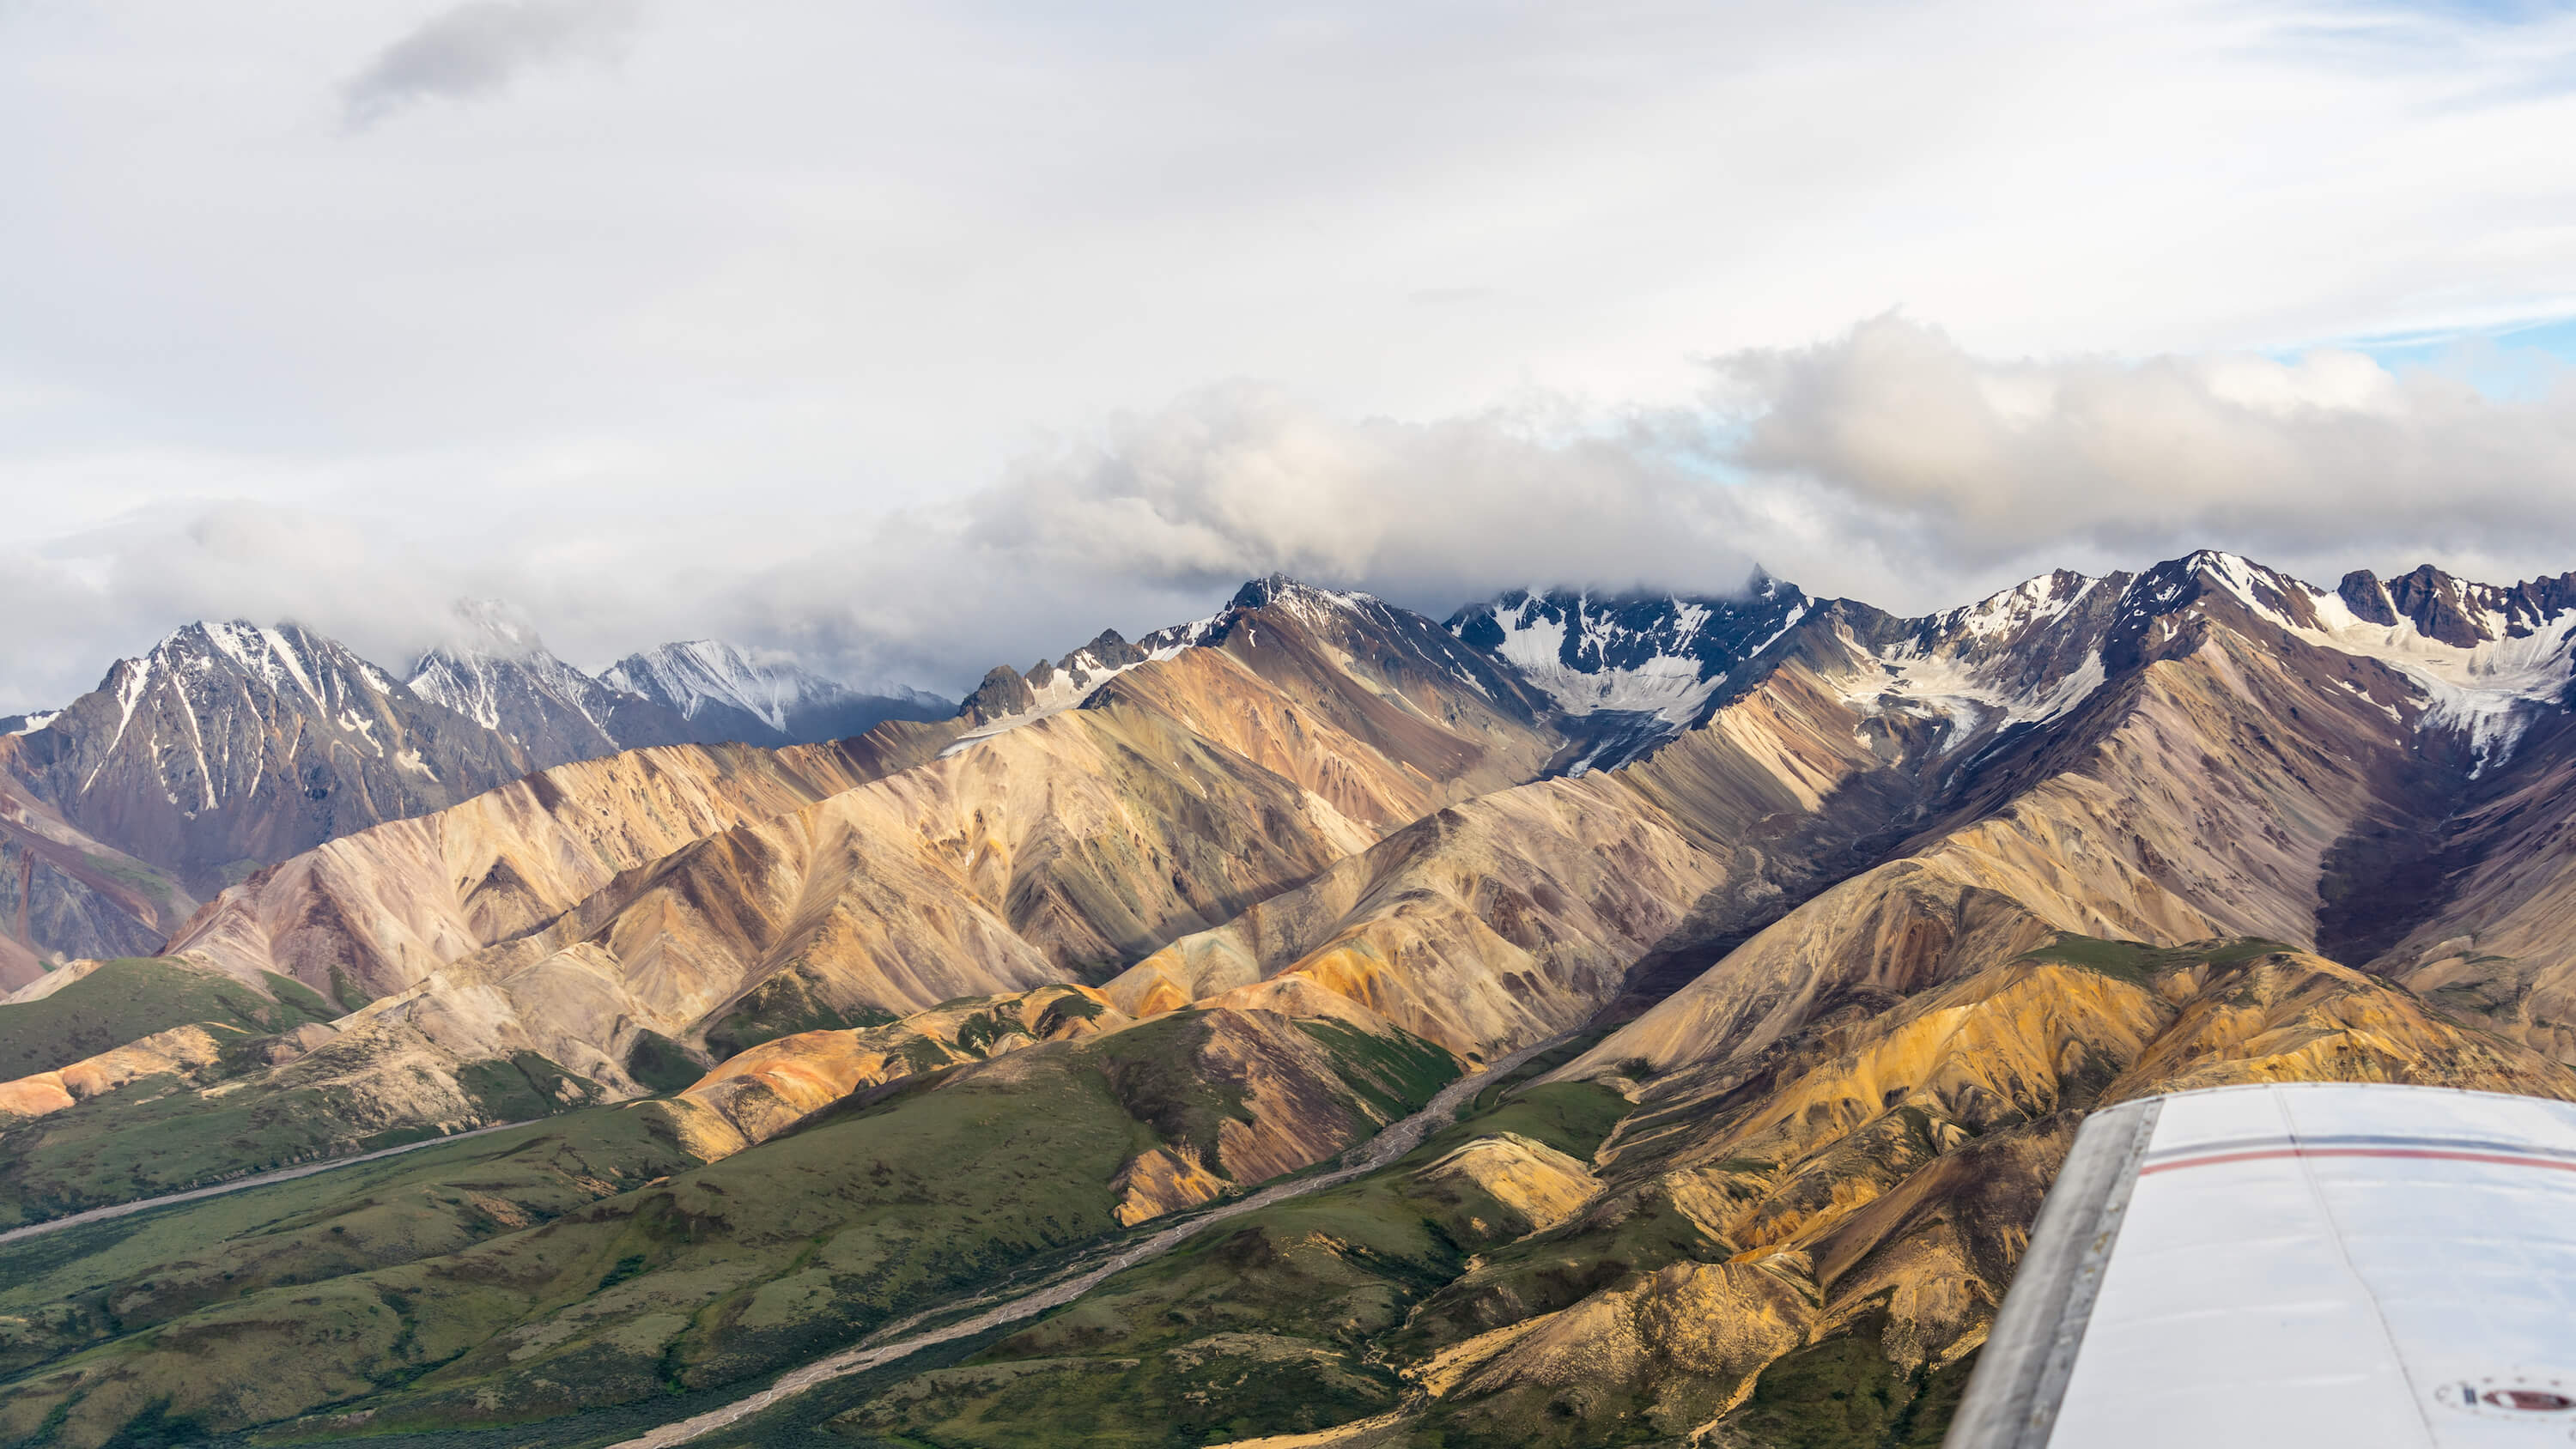
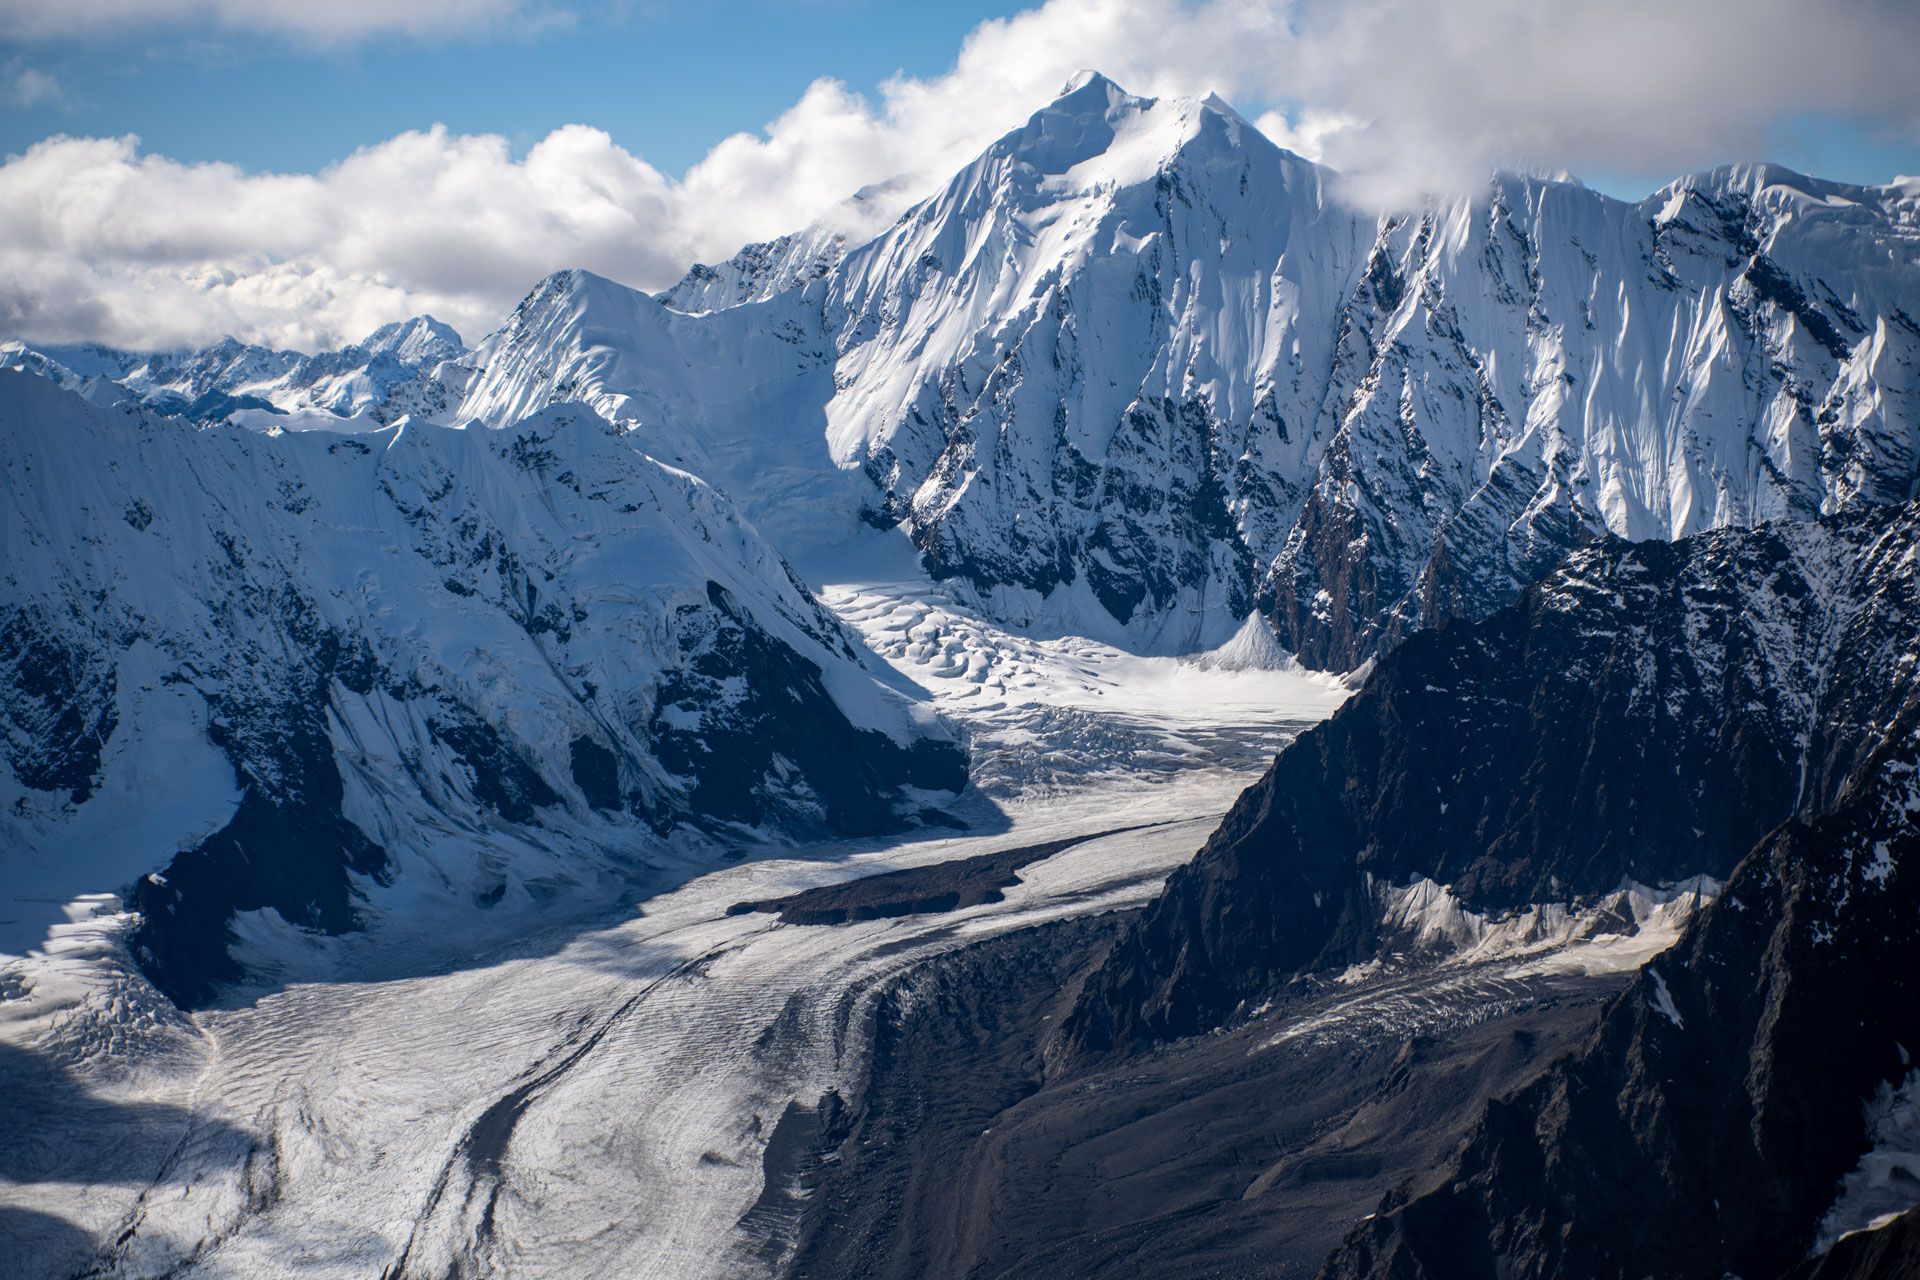
The following recommendations come straight from the Denali Photo Guides crew, who coach guests daily on making the most of whatever gear they bring. For those using interchangeable lenses, a lens in the 24mm—70mm range is great for aerial photography. Ideally, 35mm—50mm shooting out of a plane is spot on. Anything under 35mm you start getting the edges of the plane, and above 70mm, shake becomes amplified unless the technique is impeccable. A lens in this range gives you enough width to capture sweeping landscapes, while still allowing you to zoom in on dramatic peaks or winding glacier patterns.
Phone users: your built-in wide and telephoto lenses will work beautifully, too.
Pan with the Subject
Moving with your subject will enable you to capture a sharper image. If you hold straight and shoot, the plane is still moving a hundred miles an hour which can cause blur. Panning with the subject results in clear photos.
Terry with Denali Photo Guides Ideals
When preparing to shoot aerial photography, Terry’s ideal setup is a full-frame DSLR with a 24mm—70mm 2.8 lens. Shoot at 35mm—50mm for the best images. Set shutter speed at 1/500th minimum, and closer to 1/1000th would be ideal. Aperture setting would be around F8. Terry wouldn’t recommend bringing more than one lens. A 70mm—200mm would be unusable. You will be fighting reflections in the glass. Minimize this by wearing dark clothing and using a circular polarizer.
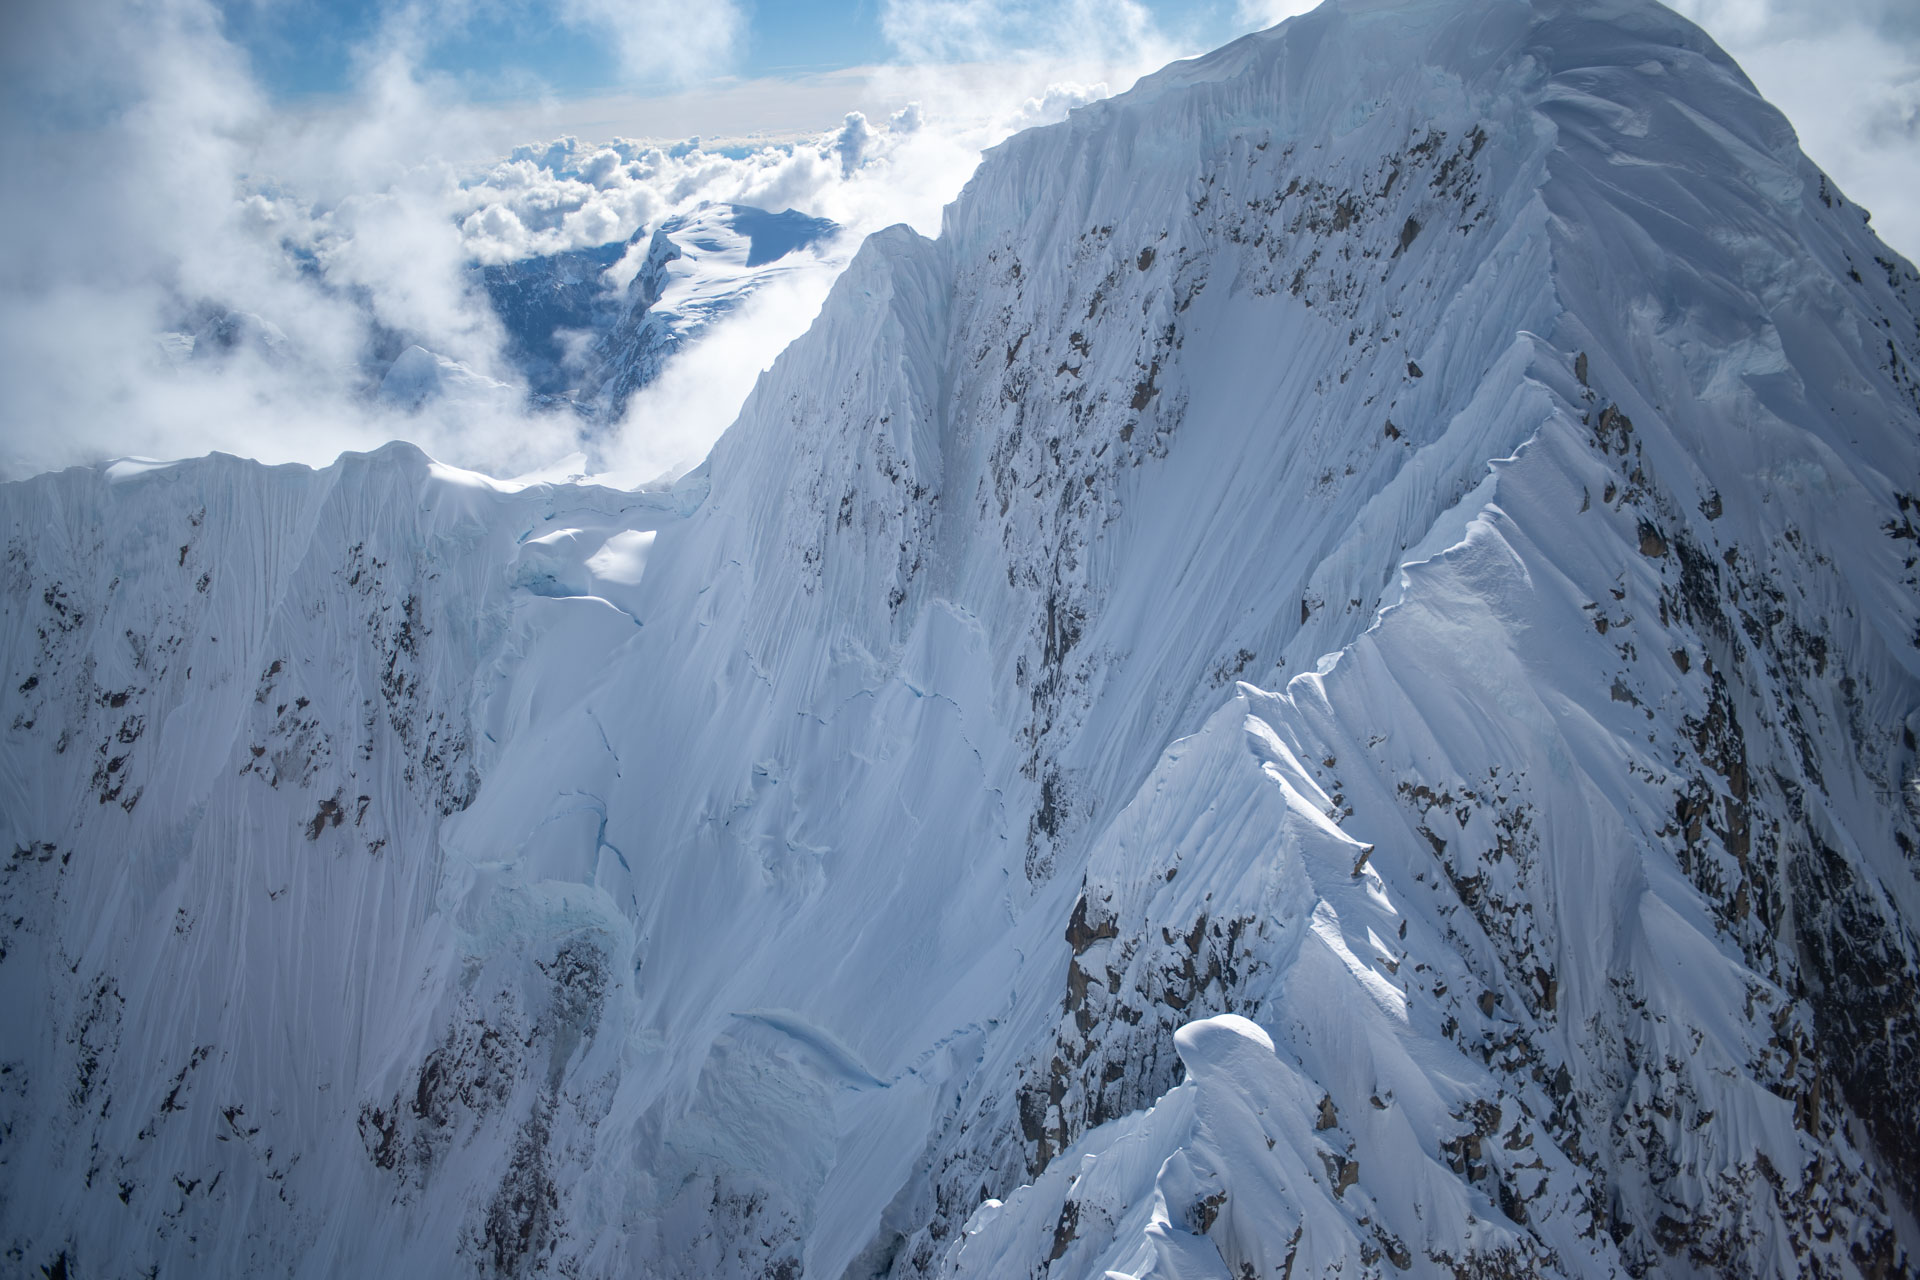
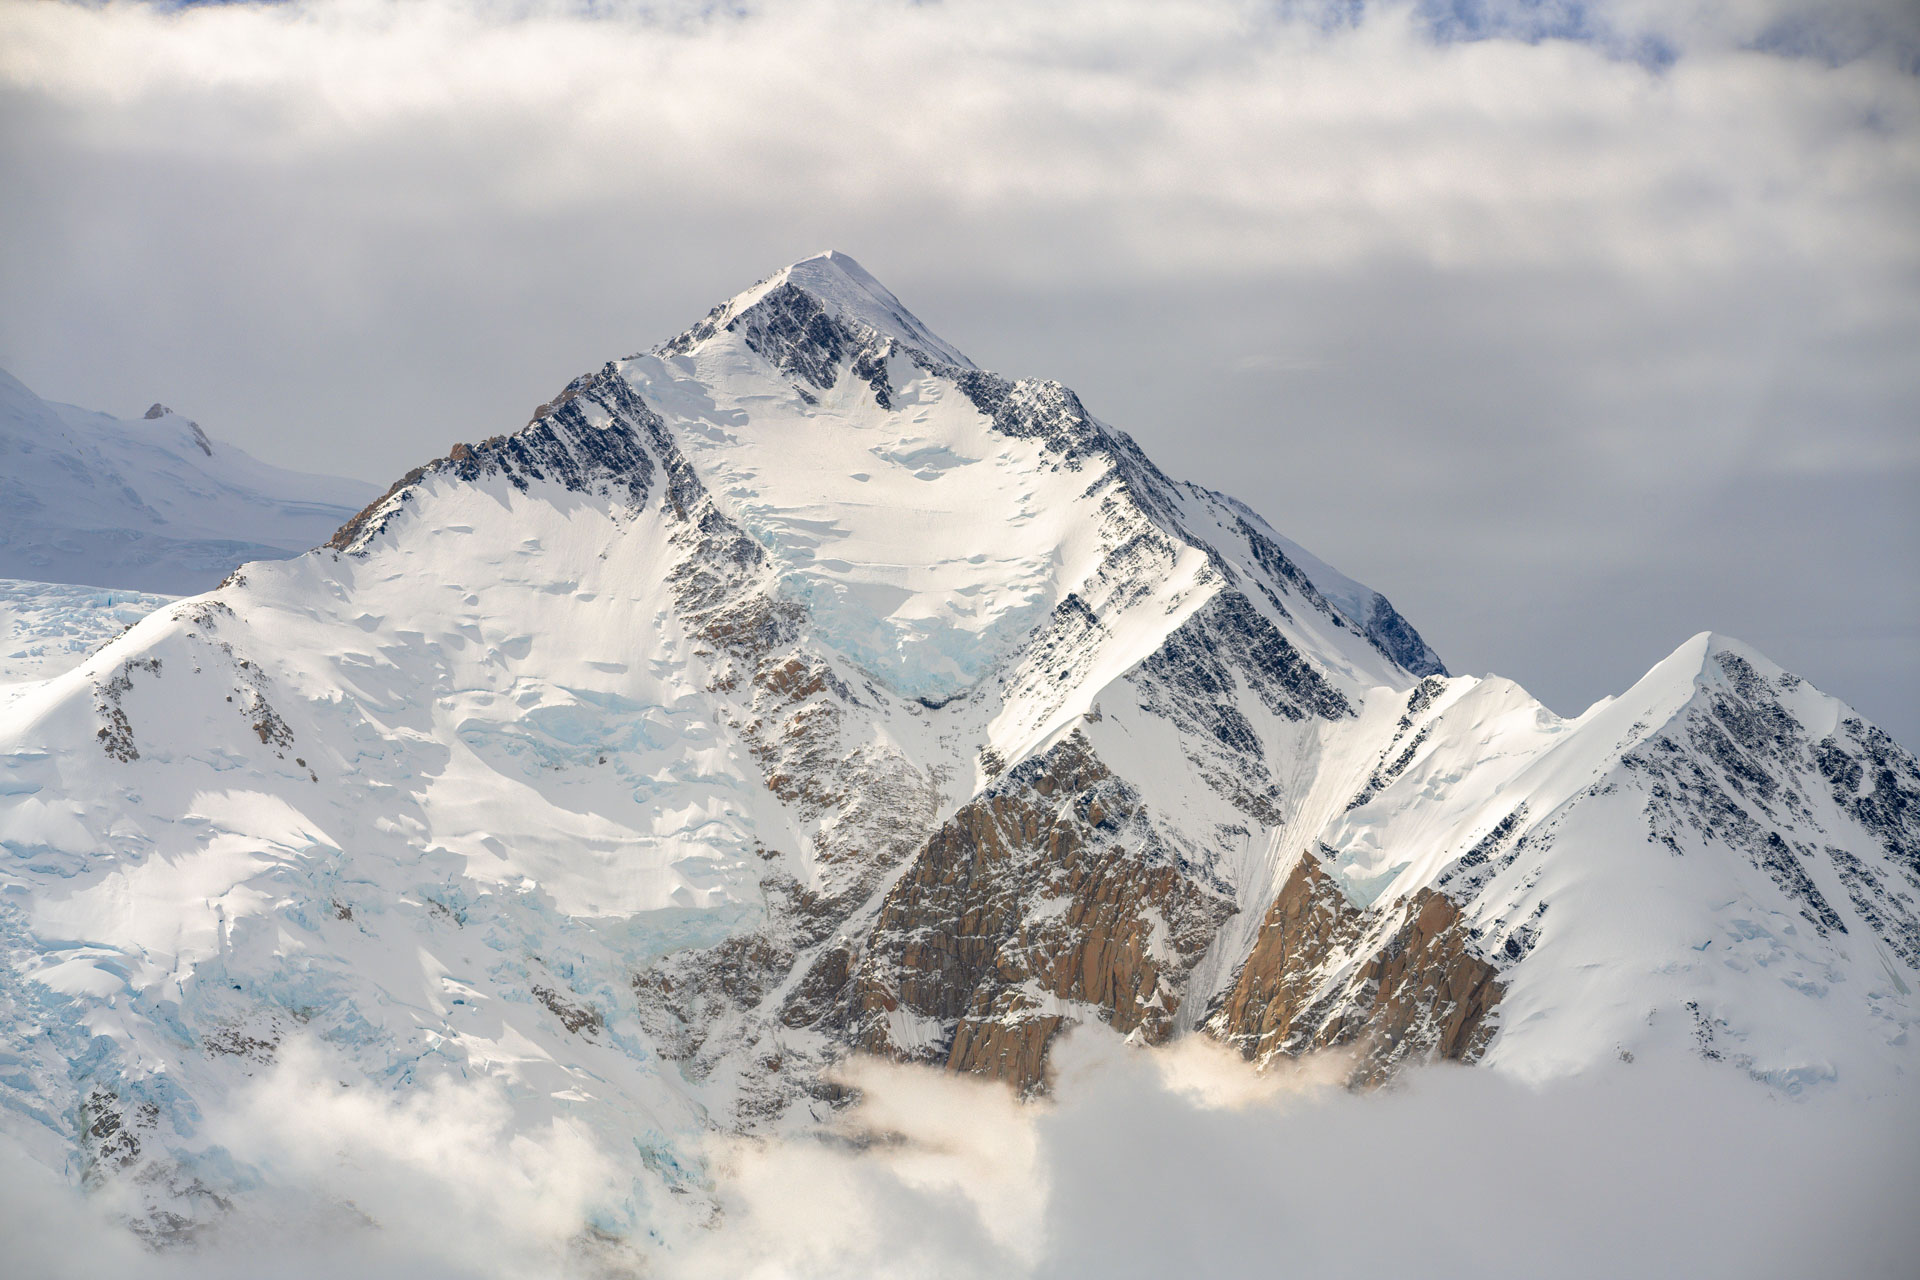
Shoot Plenty… but Also Look Up